In the future I plan to build an insulated section for seedlings in my poly-tunnel but this is quite low down the priority list as the tunnel is about 100 metres from the house. I quite like doing the germination in the warm, inside the house. Sowing tomato seeds in early March means that the seedlings will be ready to plant in an unheated polytunnel in mid-April to early May.
I have assembled a germination kit, which consists of:
- The tomato seeds I am growing this year
- A Stewart Essential Heated Propagator: The dimensions are 52cm x 42.5cm and it cost me around £25. I have had it four years now and it’s still going strong.
- Formulex nutrient solution. This is formulated for delicate seedling. Whilst water will suffice for germination, once the first true leaf has appeared then the seedling does need nutrient so I find it easier to start with it.
- 14 litre plastic bucket for mixing nutrient
- 1 litre measuring jug
- 100ml syringe for measuring nutrient
- grodan starter cubes 3.6cm (1 1/2″)
- 2cm wood screw or something to increase the hole in the starter cube (I use a woodscrew as it usually the nearest thing to hand)
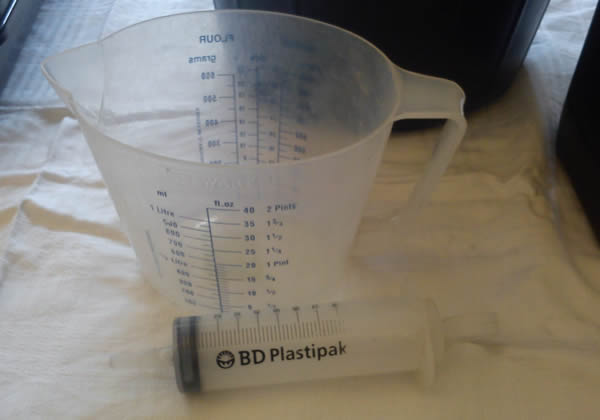
Hydroponic growing – measuring nutrient for seed germination
Having washed down the propagator and the rest of the components with a 10% bleach solution, we are ready to make up some nutrient solution. Measure 10 litres of warmish water into a plastic bucket and then add 50ml of Formulex using the syringe, giving it a good stir.
Add the starter cubes to the nutrient solution. The hydroponic guru “Dr Howard M. Resh” advises us to soak the cubes for 24 hours, to allow the solution to adjust the pH of the rockwool. Whilst I normally listen to everything that Howard advises, I must admit that I get impatient and leave them for just half an hour to soak right through. That may explain why I get germination rates of 90-95% rather than higher. My own view is that the heated propagator is the bigger influence but I am sure in a commercial operation, when you are germinating tens of thousand of seeds, it would certainly pay to leave the cubes to soak for longer.
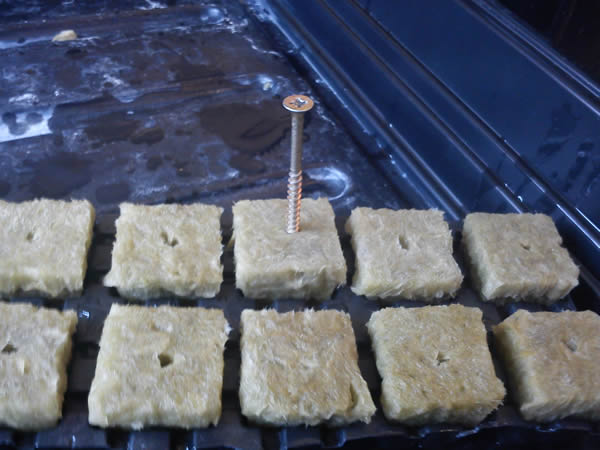
Opening up the seed hole in rockwool starter cubes
Having soaked the cubes I then return them to the plastic tray that they come in and use the woodscrew just to open up the seed hole in the top of the cube. Each cubes come with a hole but with a bit of handling during soaking this can often be covered up a little. It makes the job of inserting the seed easier of you open up the hole and make sure it as 15-20mm deep.
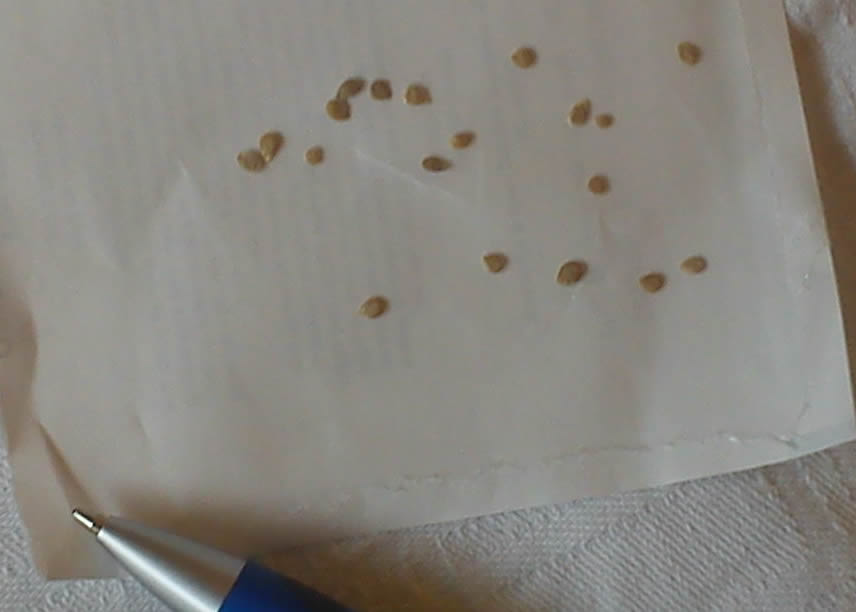
Tomato seeds ready for sowing (pen tip gives idea of typical seed size)
So we are ready to sow our seeds. I sow by hand, dropping an individual seed into each hole. If the seed catches on the edge of the hole, I use the woodscrew just to knock the seed down into the hole. Once the seed is sown, it can also be a good idea just to drop each cube from 5cm height just to make sure the seed is bedded down at the bottom of the hole, rather than being caught half way up.
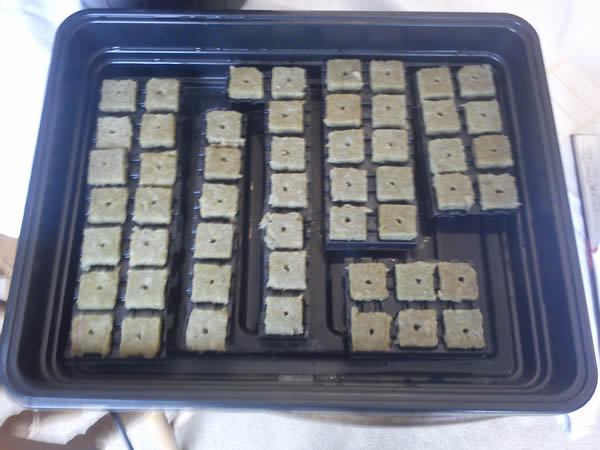
Tomato seed sown in rockwool starter cubes ready for germination
I sow each variety in turn. To make it easier to identify each variety, I cut the plastic tray supplied with the starter cubes into different unique shapes.
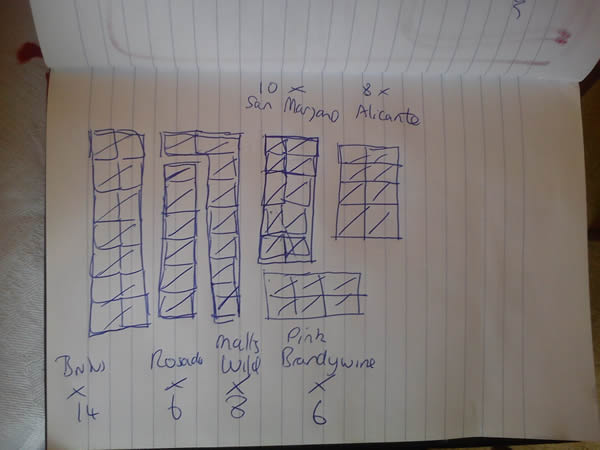
Written plan to aid tomato variety identification at germination stage
I can then write myself an identification chart to remember which variety is which. I have tried other systems of identification – marker pens, sticky labels – but every year there has been a slight hitch so this is the system I have adopted. Bear in mind that the seeds will germinate at different rates and once they have germinated they will need to be moved under lights so do work out a simple system of identification.
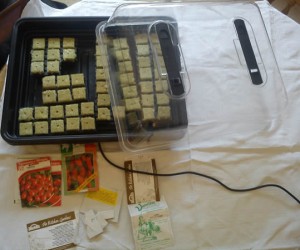
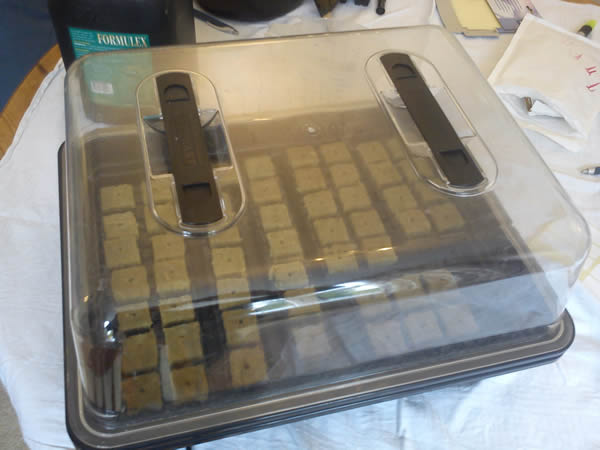
So having loaded all the starter cubes we are ready to put the lid on the heated propagator, close the vent holes initially and plug it in to mains electricity. Ideally the temperature should be 25-26 degrees Centigrade. This is why a heated propagator is used – room temperature is normally between 19-21 degrees Centigrade which is not ideal for germination. The propagator should be placed in an unlit / darkened room. Tomato seeds do not need light to germinate and some varieties prefer dark. When the propagator is up to temperature I open the black vent shutters in the perspex cover to allow a little air movement. You can tell when this is as the perspex cover starts to steam up with moisture
Once the seed leaf (cotyledon) has started to appear then I move the germinated seeds under lights. This is usually 3-4 days after sowing but can be as much as a week. During this time make sure the rockwool starter cube is moist: dampen with nutrient solution using the syringe when necessary.
In my first sowing, I have planted:
- 14 x Brutus
- 6 x Rosada
- 8 x Matt’s Wild Cherry
- 10 San Marzano
- 6 x Pink BrandyWine
- 8 x Alicante
We will track the germination rate of these tomato varieties in future diary entries.
See previous entry on Choosing Tomato Varieties To Grow.

Very good information. Thanks a bunch. I am having a problem germinating my tomato seeds. I used rockwool but did not pre-soak it. I’m going to try again.